IoT applications not only enable networking of physical and virtual objects but also create a foundation for new digital business models. Melitta’s IoT project is a good example of how this can be achieved. It involved the creation of a central IoT hub, which serves as a home for the data from around 30,000 coffee machines and integrates technology that serves as the basis for various digital services and products for a large number of players.
NTT DATA Business Solutions
IoT and SAP - The Perfect Partners for New Digital Business Models

Melitta is recognized globally as an integrated partner for coffee-drinking pleasure in the catering market and provides coffee-preparation equipment to customers in catering, the hotel industry, collective catering, offices, service stations, bakeries, convenience stores, cafés, and coffee shops. To future-proof its business and to tap new business areas, Melitta decided to approach NTT DATA Business Solutions. The company was looking for a digital solution that could bring together the Internet of Things, data management, and big data and benefit from digitization and develop new business models with the new technology. The solution: The integration of an IoT platform into a SAP landscape that enables different access for different players.
Coffee Machine 2.0, Thanks to the Internet of Things
Melitta’s coffee machines were IoT capable even before the project got underway, transmitting telemetry data from 30,000 coffee machines in use around the world. In addition to special aromatic coffees, the machines use IoT modules to supply a wealth of individual data, including information on their status, maintenance, current coffee consumption, and the number of drinks prepared. The results are transmitted to a central platform in real time, where they are analyzed and monitored.
This information has previously been collected by manufacturers of coffee machines to aid service-level improvements, including regular maintenance. The data are also recorded in databases and the SAP system – a time-consuming and often highly imprecise procedure, which can quickly yield inaccuracies and transfer errors, in addition to lacking flexibility and clarity – as an example, maintenance plans and contracts are stored in different applications.
To simplify the system and make it more agile and efficient, as well as facilitate new business models, the NTT DATA Business Solutions team developed a SAP integration solution into which all IoT-capable machines could be integrated. As a result, the new IoT platform acts as a basis for digital business models.
Our experts started by disassembling the original, central, monolithic, and proprietary IoT platform into a microservice-supported system and integrated it into the SAP ecosystem. It was a mammoth project lasting two years.
The new solution, the IoT hub from Melitta Professional, now forms the basis for all digital services and products and for the data-driven business model. It is the central hub for telemetry-based data and applications. The system enables different views of machine data for different players. For example, Melitta INSIGHTS is a web-based customer portal that gives operating companies information about machine performance and data. The new technical environment also facilitates other digital services and applications, which, in addition to maintenance, optimization, and management, also enable the development of new business models and increase economic revenue.

IoT Enables New Business Models: a Win-Win for Manufacturers and Operating Companies
Operating companies can derive benefit from IoT-connected machines. Currently, this innovation allows them to do things like take contactless payment for their coffee specialties, which, during pandemic times, has been of particular assistance to operating companies with a large and ever-changing clientele. Accordingly, the new data-driven business model can also help to develop and offer new services.
Customization of coffee beverages can also be a lucrative business for operating companies: the app allows for the creation of new, individual recipes; adjustments to the ratio of coffee and milk; and the addition of special flavors, which are particularly popular in Asia.
The planned service portal also offers additional benefits. In the future, poster-based and TV-based advertising campaigns can be extended to the large displays on the coffee machines by feeding advertising images or text into the system via media upload. These campaigns can then be displayed to customers while they are ordering coffee.
The renowned coffee machine manufacturer will also derive long-term benefit from new business models that pick up on current market trends. While its core business remains the manufacture and sale of coffee machines, the market is likely to change in the near future – a transformation is already noticeable today. Being able to respond to changes promptly and to give customers appropriate solutions provides a two-fold benefit for the coffee machine manufacturer: gaining a decisive competitive advantage and achieving financial gain with flexible rental models, turning innovation into success.
Market-Driven Changes Require a Change in Mindset
Developing new sales models before the competition requires courage and changes to entrepreneurial thinking. Here, NTT DATA Business Solutions demonstrates its competence as a strong partner. The company’s experts develop the technical processes and reliably implement them, as well as help to support the change in mindset that the business needs. Matching “test runs” in the form of smaller pilot projects can counteract the uncertainty in dealing with IoT applications. If this process runs seamlessly, it is usually the best way to ease any fears that might arise and to shift the focus back toward the future.
Implementation of Data-driven Business Models Illustrated by Example of the Melitta IoT Hub
Watch on
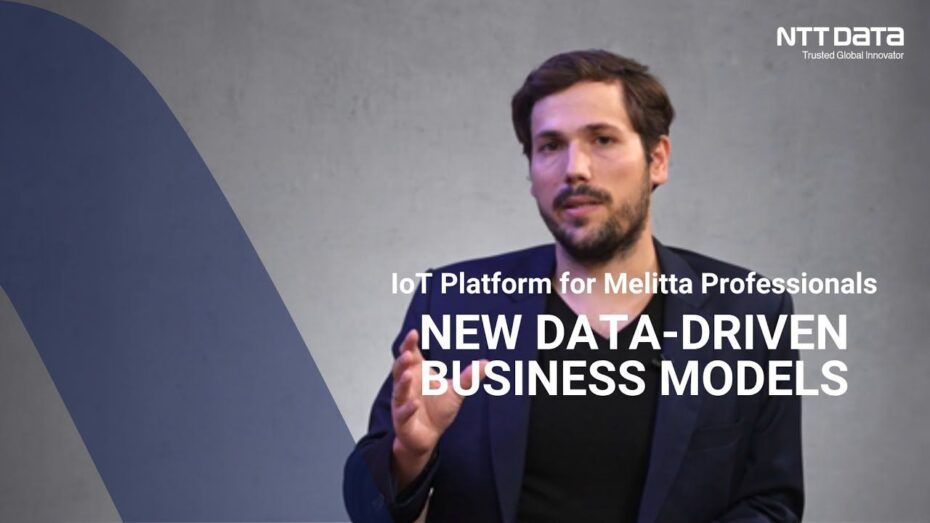
Melitta Professionals – IoT Platform Points the Way to Coffee Machine Sales of the Future
You prefer watching to reading? In our video Sebastian Herzog, Innovation Manager at NTT DATA Business Solutions, explains the possibilities offered by the IoT platform in detail and provides insights into the individual dashboards.
More Blog Articles about Innovations
Innovations
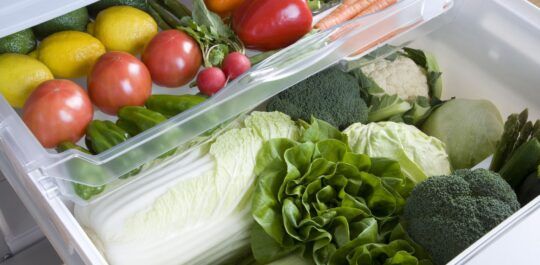
Smart Fridge: How AI Innovation Can Drive Sustainability
NTT DATA Business Solutions
Sep 26, 2023
Artificial Intelligence
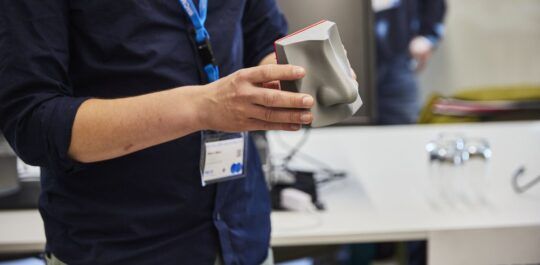
AI Nose – How AI Can Detect and Identify Smell
NTT DATA Business Solutions
Jun 15, 2023
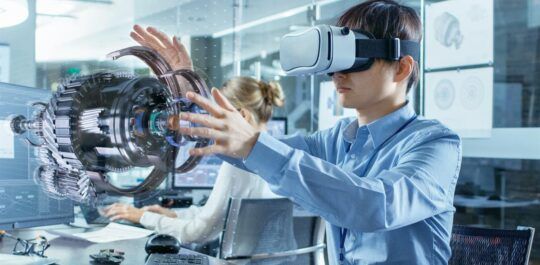
Blog Series: The Metaverse
Manufacturing
The Emerging Industrial Metaverse
Wolfgang Möller
Mar 13, 2023

Digital Transformation
IoT and SAP – The Perfect Partners for New Digital Business Models
NTT DATA Business Solutions
Mar 10, 2023
Digital Transformation
How Machine Learning is Helping Farmers and Livestock
Morten Arnesen
Dec 05, 2022

Digital Transformation
How Collaborations and Co-Innovation Will Secure Your Future Business Success
NTT DATA Business Solutions
Nov 02, 2022